Over the past 4 weeks the 2nd graders have been immersed in an exciting group writing project in which they successfully wrote and illustrated books to add to our Little Libraries for the NCCS preschools. The process was so much fun and challenged students to push themselves in a variety of ways.
Throughout these four weeks students were asked to tap into their creativity and knowledge base to write a cohesive, interesting, and original story for a preschool-aged audience. They learned and implemented strategies for successful story writing, as well as a new illustrating technique. However, the learning extended to much farther than simply building students' literacy skills. To successfully complete a book, the students needed to learn how to stay organized and complete their work by certain deadlines. They had to make compromises, problem solve as a group, and learn how to share the workload.
There were many highs and a couple of lows, but throughout the process the students always gave their best effort. They were eager to learn, create, and work collaboratively. I am so unbelievably proud of these amazing kids. I cannot wait for these books to come in so that they can see how all of their hard work turned into something really beautiful and meaningful!
This week we reflected on the whole 4 week writing process. There were so many pieces over such a long period of time, so it is important for students to remind themselves of how they ended up with this final product.
As a class we came up with the following steps in the process:
1. Creating the writing groups
The students worked in groups of 3, 4, or 5 to create their books. The teachers thought it would be fun to provide the students with an opportunity to work collaboratively with students from other classes. So to create the groups, the students took a survey. They listed their interests, initial ideas of what they may want to write about, their strengths as either an author or illustrator, and named one student from each class who they would like to work with for this project. From this survey, Ms. Kegley, Mrs. Fuentes, and I created the writing groups.
2. Brainstorming for a topic
For the first couple of group meetings, the students worked through potential story ideas. They brainstormed ideas, considered different genres, and drew from some of their favorite stories for inspiration. After coming up with as many ideas as possible, the students worked together to agree on an overarching topic and storyline for their books.
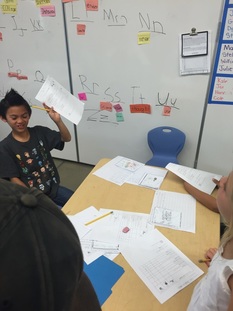
3. The 4 keys
Then it was time to write their 4 keys to a successful story. The groups decided on the characters, setting, resolution, and problem for their stories. They wrote down the details and drew a sketch for each key.
Then it was time to write their 4 keys to a successful story. The groups decided on the characters, setting, resolution, and problem for their stories. They wrote down the details and drew a sketch for each key.
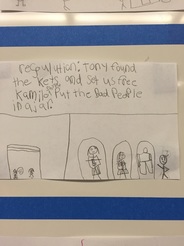
4. Storyboard
The groups expanded on their 4 keys to map out the story. We used a storyboard format, where students sequence the story into a series of pictures, and write short explanations for what is happening in each picture.
5. 1st Edit
In this first editing process we focused on the clarity of the story. Our focus question was, "Does this make sense?" We asked that question when looking at each frame of the storyboard, and as a story altogether. We cut the storyboard into single frames so that we could take parts out, add new frames in, and move frames around to improve the flow of the storyline. Once the frames were reorganized, students wrote more detailed descriptions for each frame.
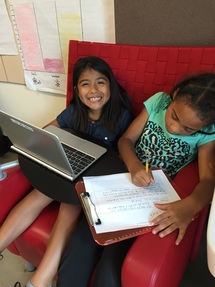
6. Type the stories
Up until this point, students were working together to complete each step of the process. At this step, students learned the concept of "divide and conquer." They decided on a way to split up the work of typing up the words from the storyboard onto a collaborative document. This document then became the first draft of the story.
Up until this point, students were working together to complete each step of the process. At this step, students learned the concept of "divide and conquer." They decided on a way to split up the work of typing up the words from the storyboard onto a collaborative document. This document then became the first draft of the story.
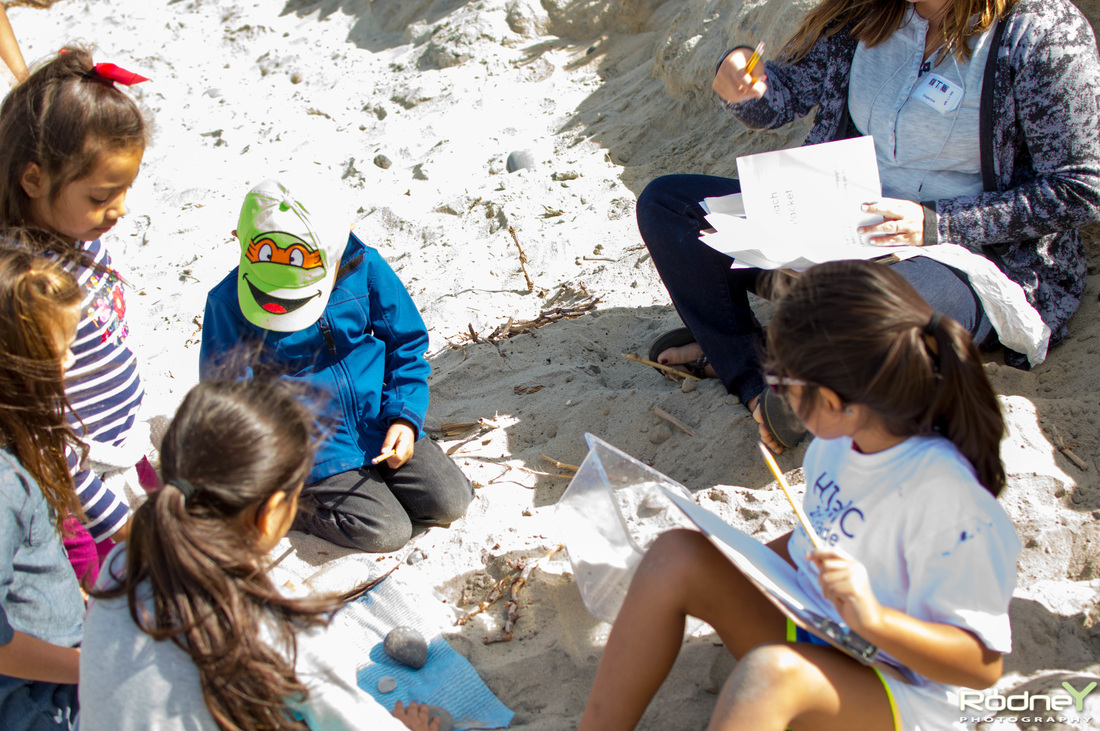
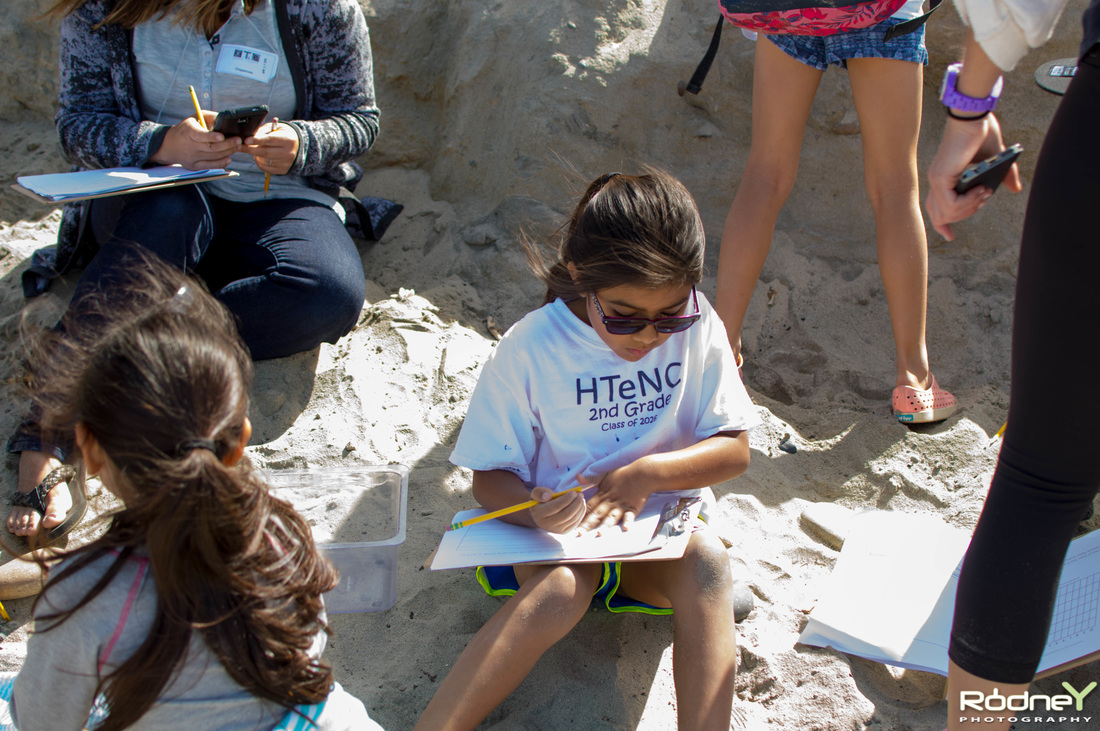
7. Critique
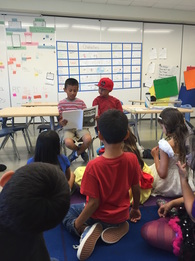
The students took their story drafts to the preschool to get critique.
They read their stories to their preschool buddies, and then asked them a series of questions that we came up with as a class. Reading the stories aloud to the preschoolers helped the students see where they needed to make more edits to their story. When I got back to school, it was so cool to see students already in the classroom making edits to their story!
8. 2nd Edit
As I just mentioned, the students edited their work based on preschooler's feedback. Then, we learned about the concept of "Show don't tell" - Rather than simply stating what happened, how can we use the setting, dialogue, and describing words to make the reader feel like they are experiencing the story with the characters? Each group worked collaboratively to go back through each page to add these elements into their writing.
9. Illustrations
We broke the illustrating process down into two parts: The characters, and the background.
Characters - Students hand drew all of the characters in their story. They drew the character one time, without a face. Then, we made copies of this illustration so that every time the character appeared in the story, they would use this one character illustration. They would also draw on the facial expression to match the storyline for that page.
Background- We studied the collage art technique to create the backgrounds for the books. We took an in-depth look into Ezra Jack Keats's work, and looked through our class library to find other examples of collage illustrations. The students used construction paper, scrapbook paper, and other materials to create the background for each page.
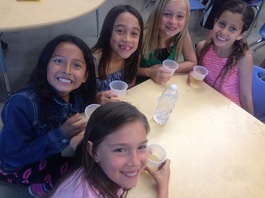
10. Wrap party!
We celebrated our books being sent off to the publisher with a "wrap party" just like writers do! We
made a toast to celebrate the students' hard work, and enjoyed our sparkling grape juice with the whole second grade.
The books should be coming in any day now, and we can't wait to share them with you at Exhibition!


 RSS Feed
