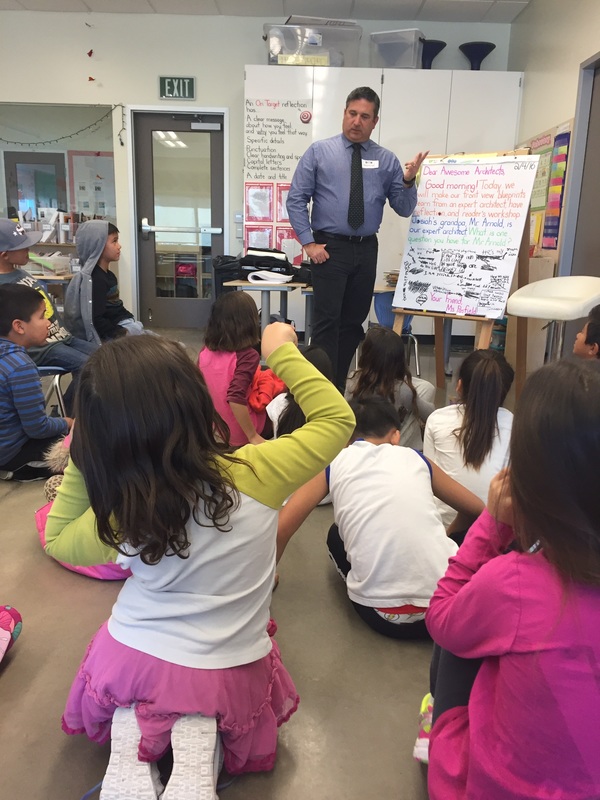
Over the past few weeks we have been learning and working through the mindset of an architect. Our focus has been on planning and designing the little library that we will create for the Oakhill preschool. We have learned so much about what it means to be an architect! Read on to learn more about our process to become knowledgeable and proficient architects!
Step 1: What is a blueprint? How do you make one?
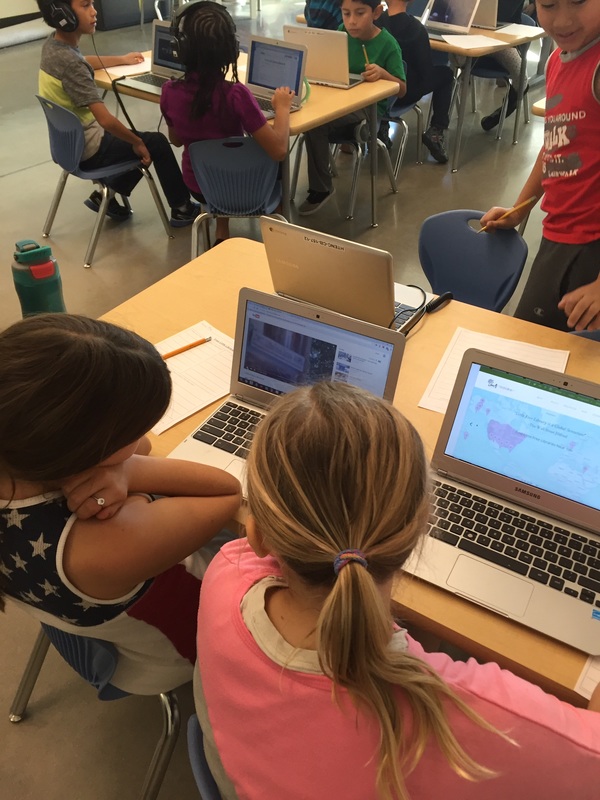
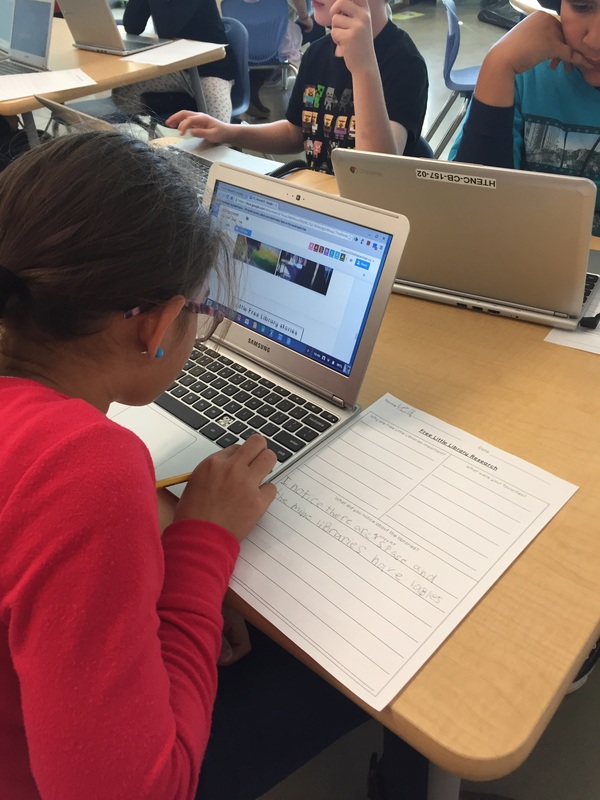
We already drew pictures of what we wanted the little library to look like - Can't we just use those for our blueprints? How are those drawings different from a blueprint? To understand this important difference, we did a gallery walk of real blueprints donated by a local architect. The students wrote down observations on the blueprints, and then we shared what we noticed as a class. We made a rubric for an on target blueprint:
Step 1: What is a blueprint? How do you make one?
We already drew pictures of what we wanted the little library to look like - Can't we just use those for our blueprints? How are those drawings different from a blueprint? To understand this important difference, we did a gallery walk of real blueprints donated by a local architect. The students wrote down observations on the blueprints, and then we shared what we noticed as a class. We made a rubric for an on target blueprint:
An on Target Blueprint Has
- Clear shapes and pictures
- Arrows and labels
- Straight lines
- A scale
- Name, date, title, and page number
- Numbers to show measurement
We came with a couple important definitions too:
Blueprint- A detailed drawing that shows you how to build something
Scale - shrinking something down, but keeping it accurate
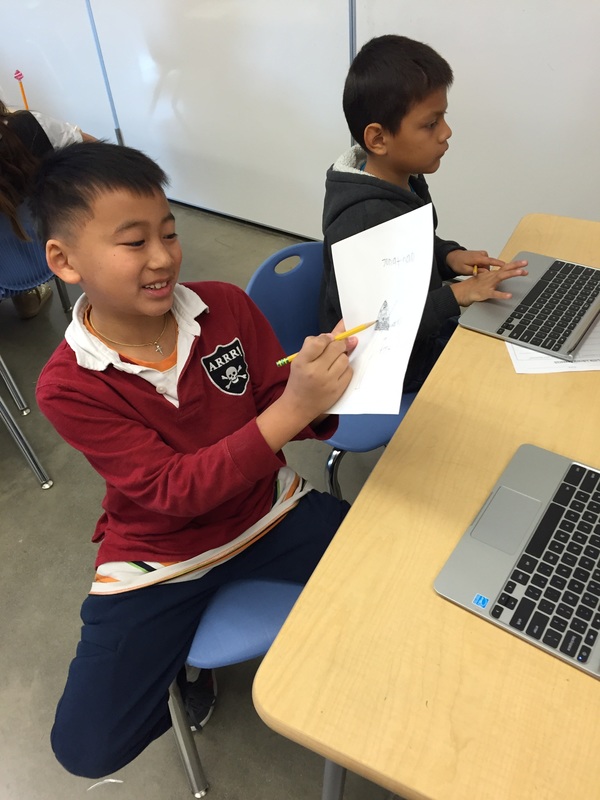
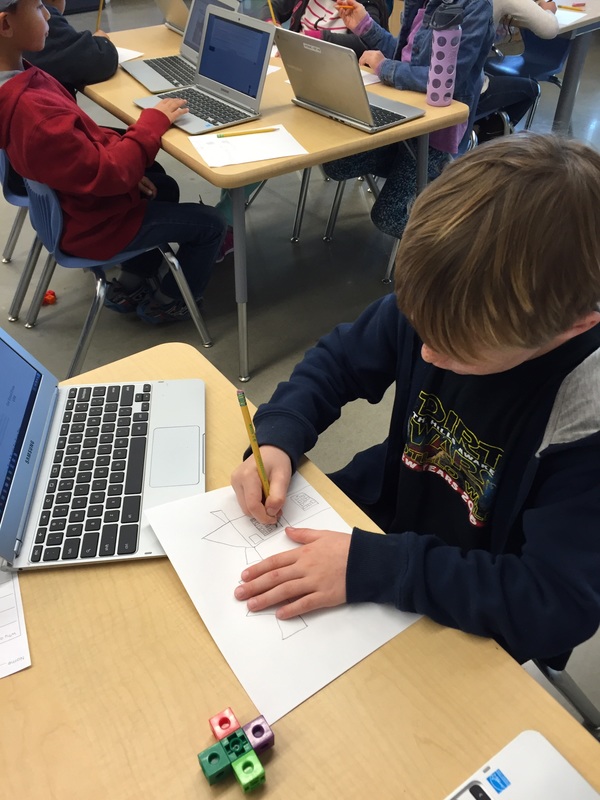
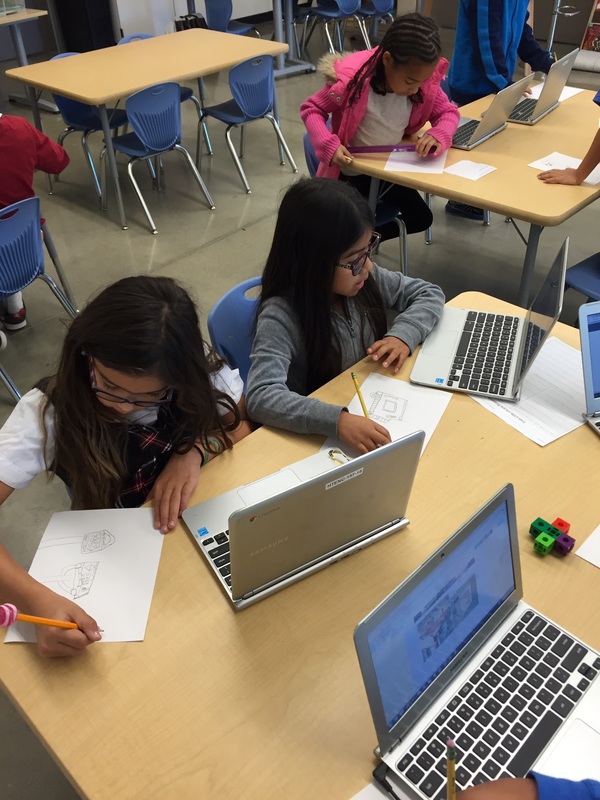
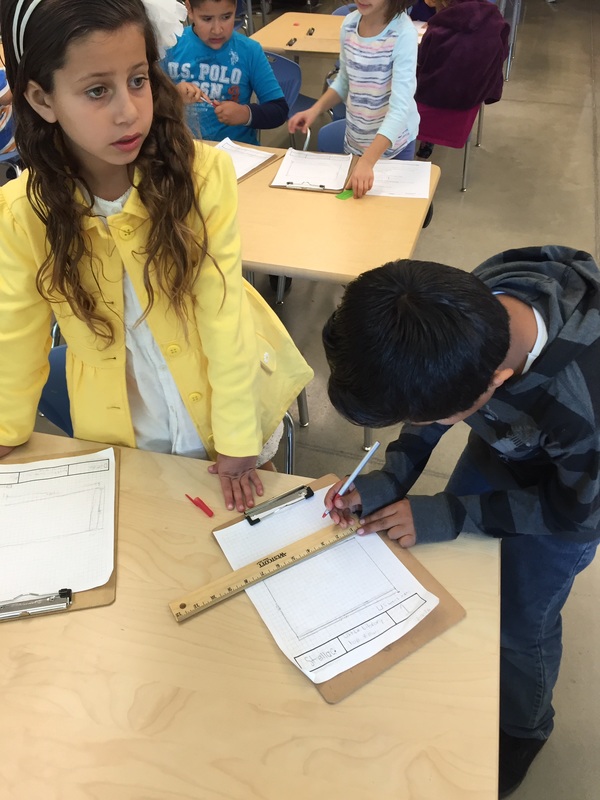
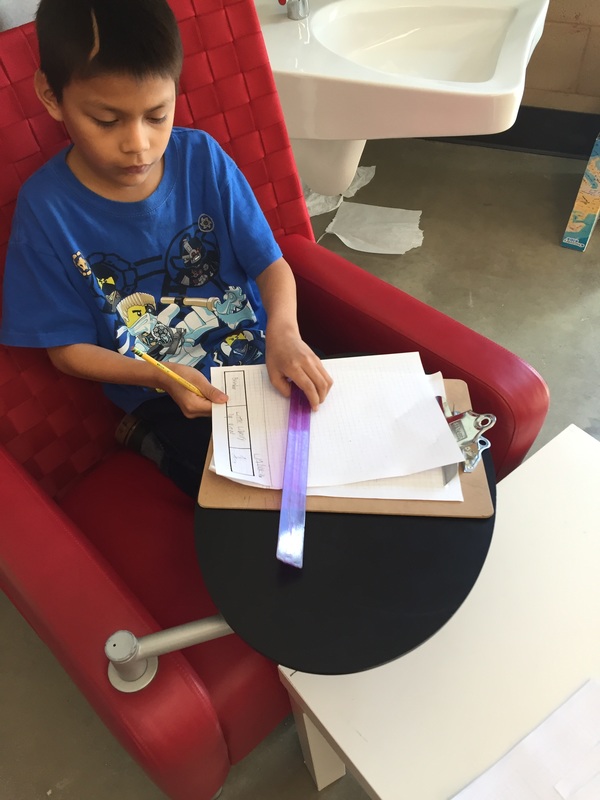
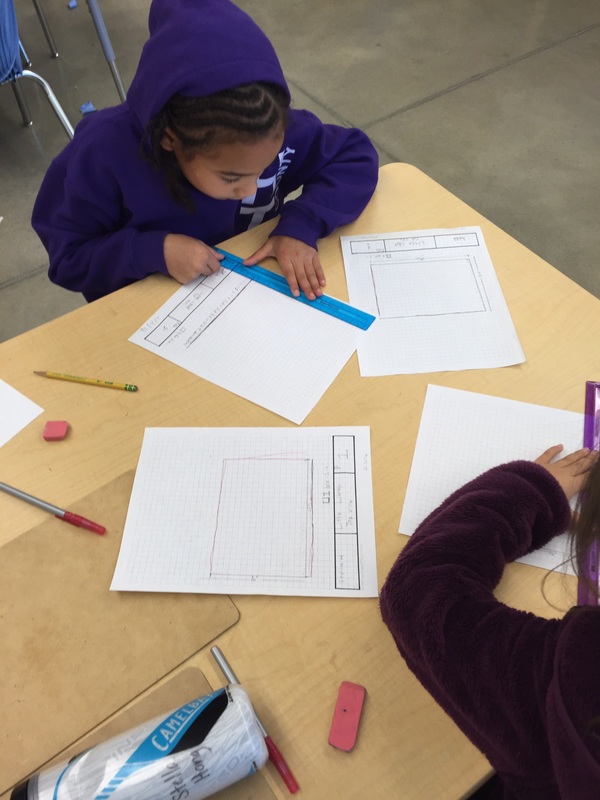
Then, it was time to practice. We started by measuring things in our classroom. We measured materials in our classroom using meter sticks, measuring tapes, and rulers. We used graph paper and a ruler for a straight edge to make our blueprints. The process was harder than we thought! The students reflected and said that drawing to scale and making straight lines were two especially challenging tasks when making their blueprints. However, the students persevered and continued to practice until they could consistently make accurate, on target blueprints.
Step 2: Learning from Experts
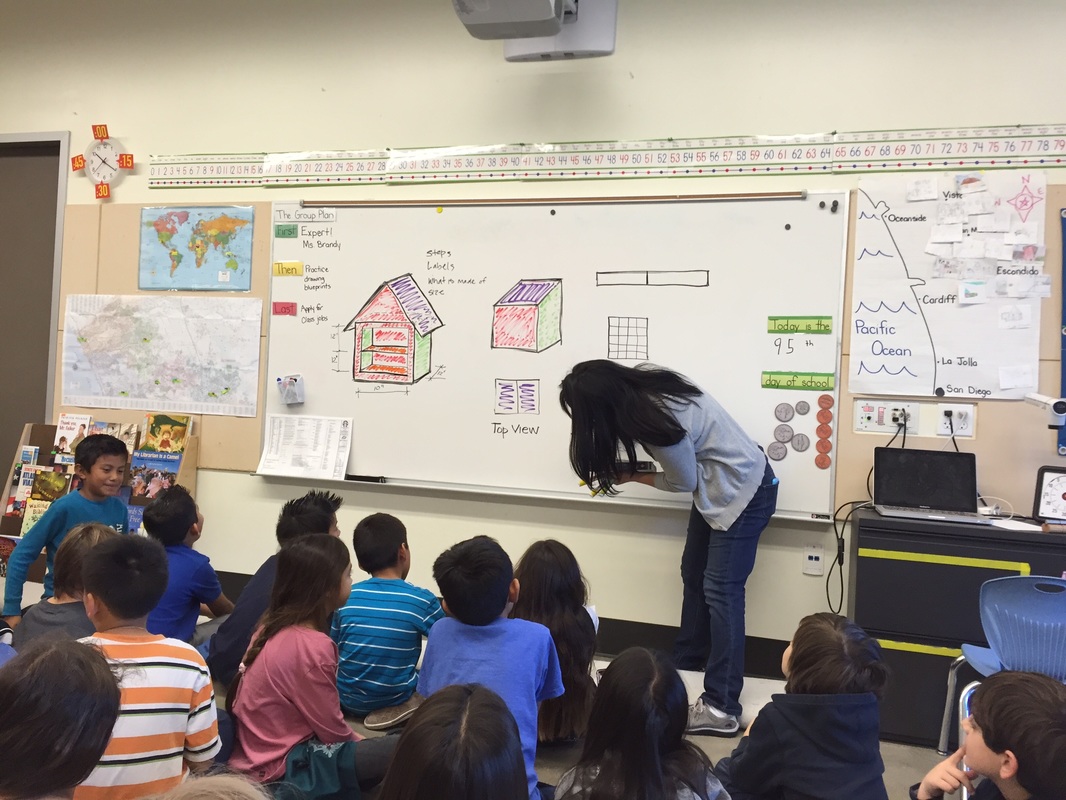
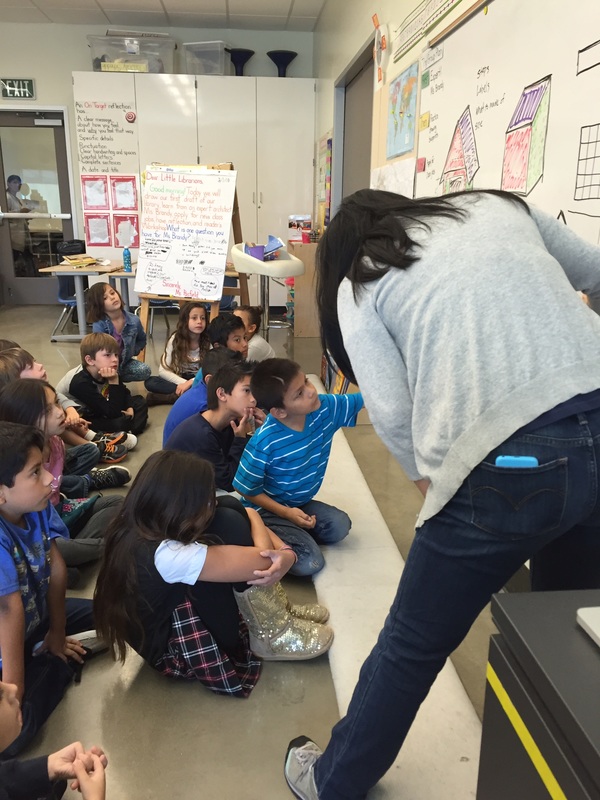
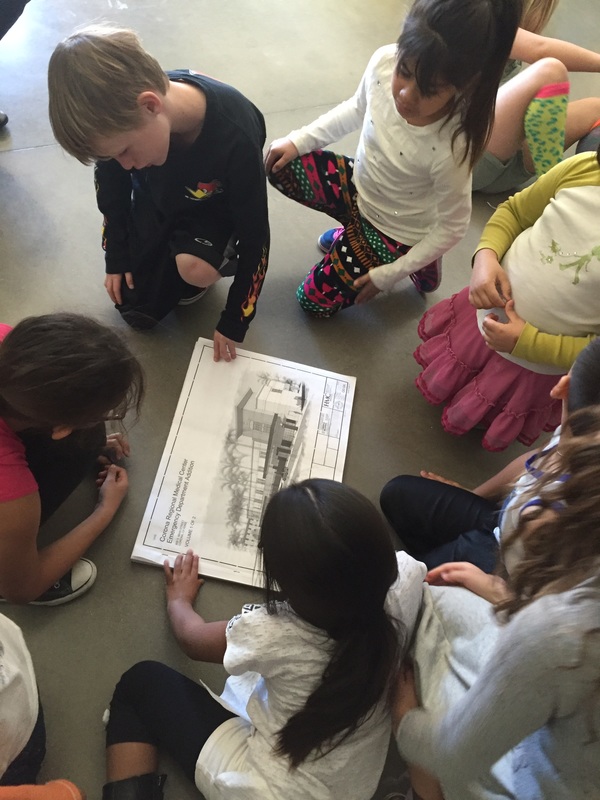
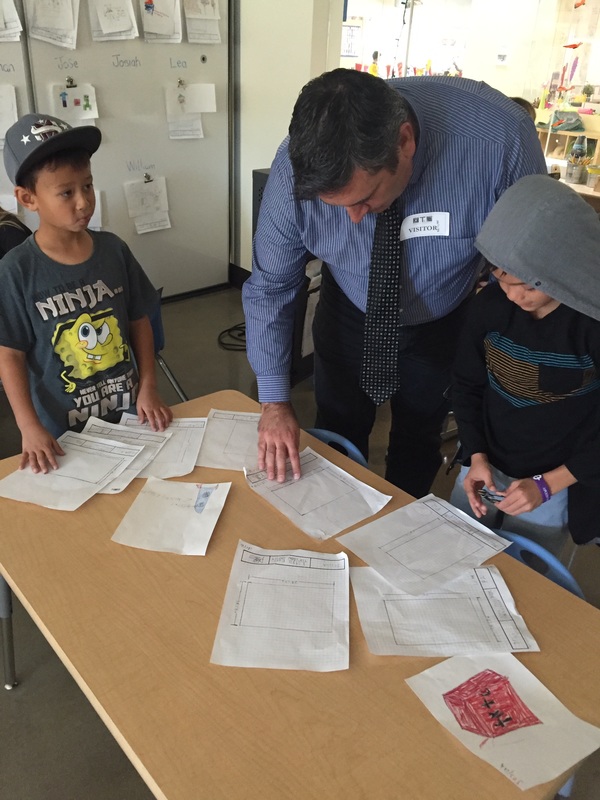
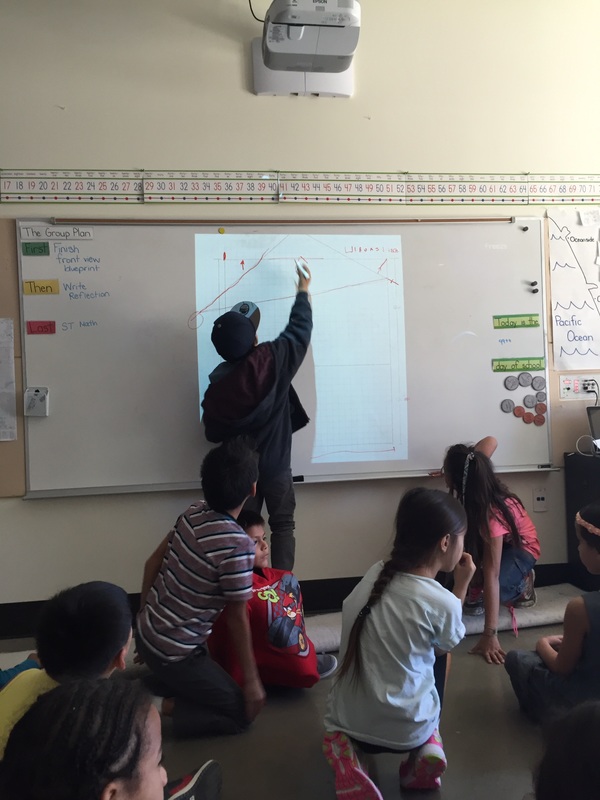
We were fortunate enough to have two architects come in and help us! First, Mrs. Brandy came in and helped us with our library blueprints. When Mrs. Brandy came in, we had lots of creative drawing and pictures, but we didn't know how to turn those into something that we could actually bring to MakerPlace to build. Mrs. Brandy broke down the process of making a blueprint, and gave us a general outline for what our library blueprints should look like.
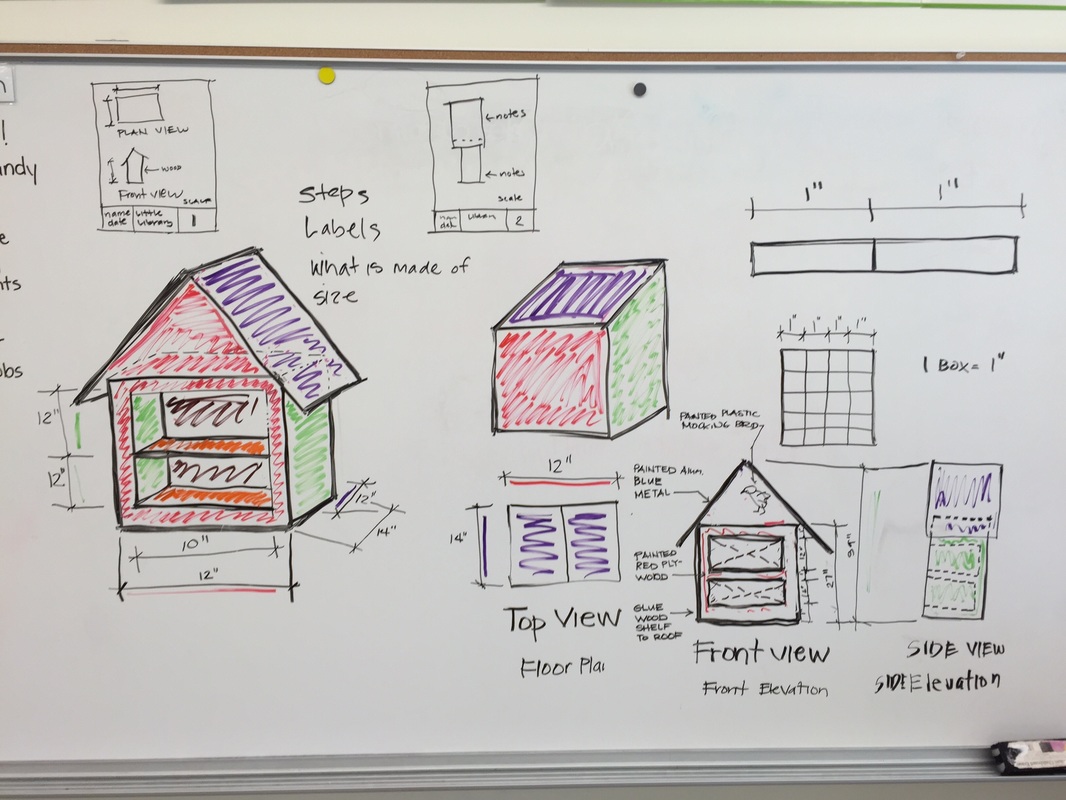
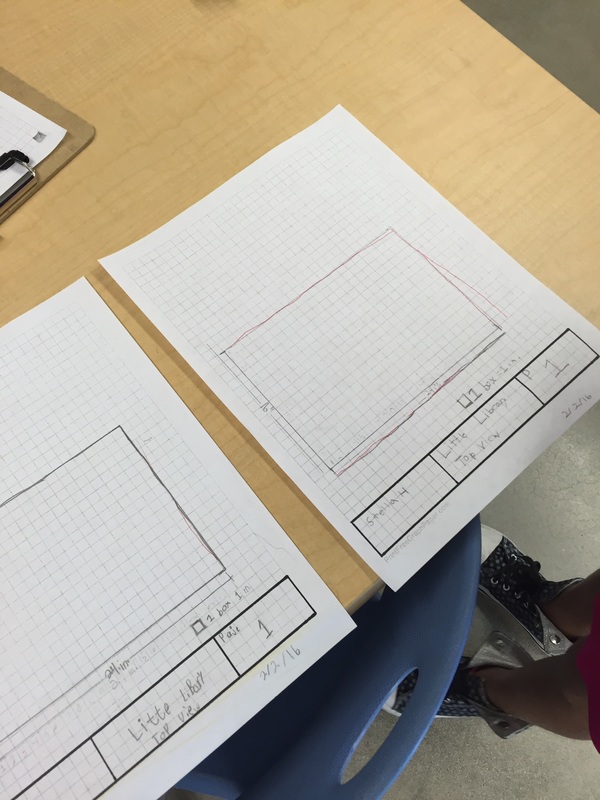
Mrs. Brandy explained that we need to show our library from different view points. We decided that we needed three different views of our library: Top view, Side view, and Front view. She and helped us decide on the dimensions for our library. Last, she told us about some of the important labels that we should put on our blueprints that will help the builder understand what we want.
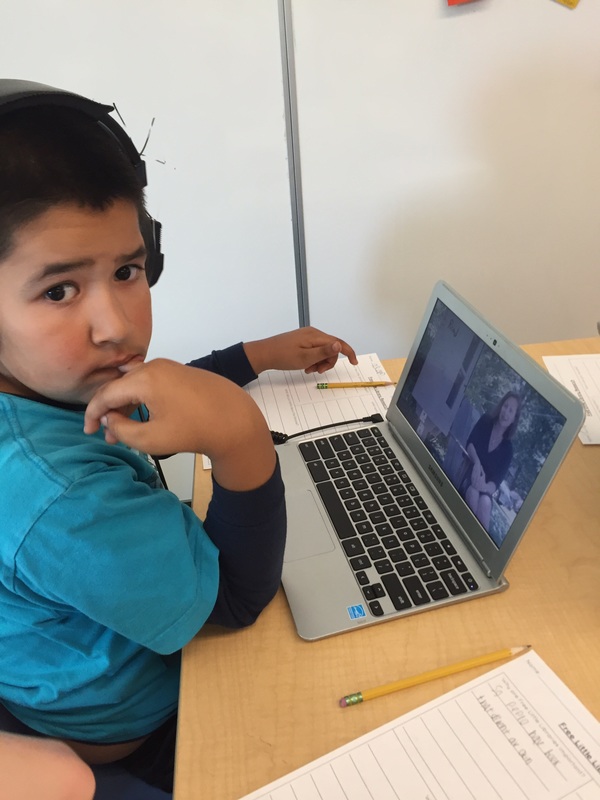
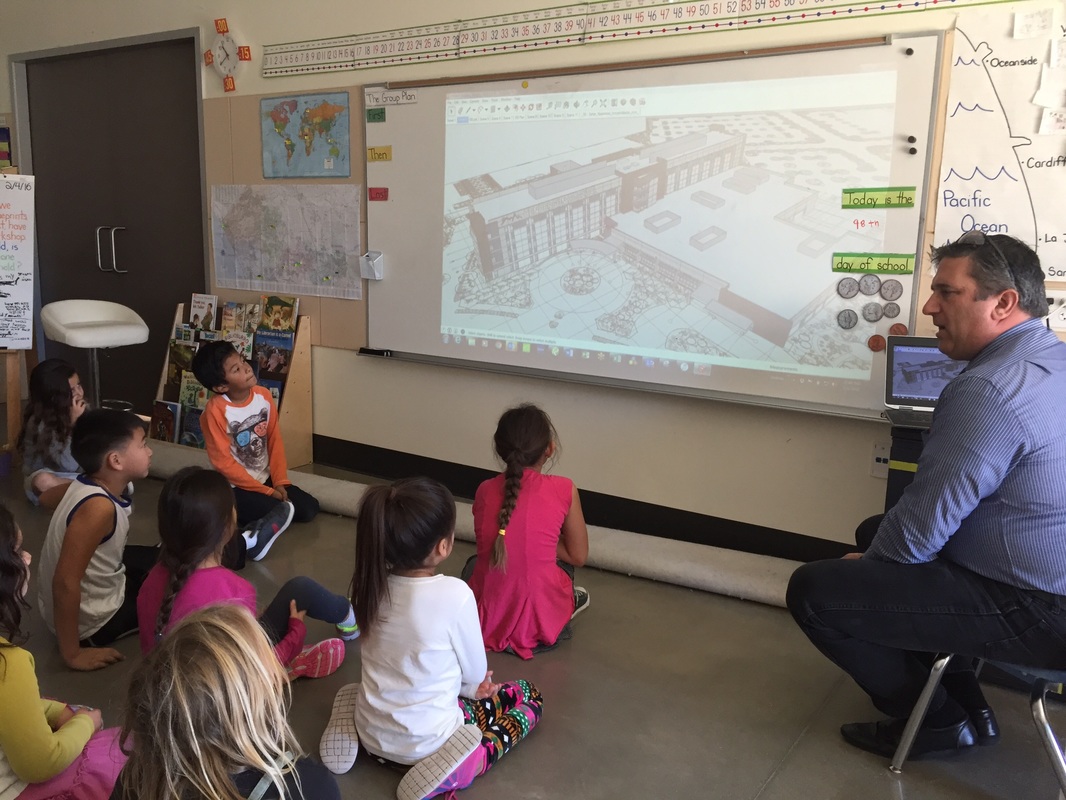
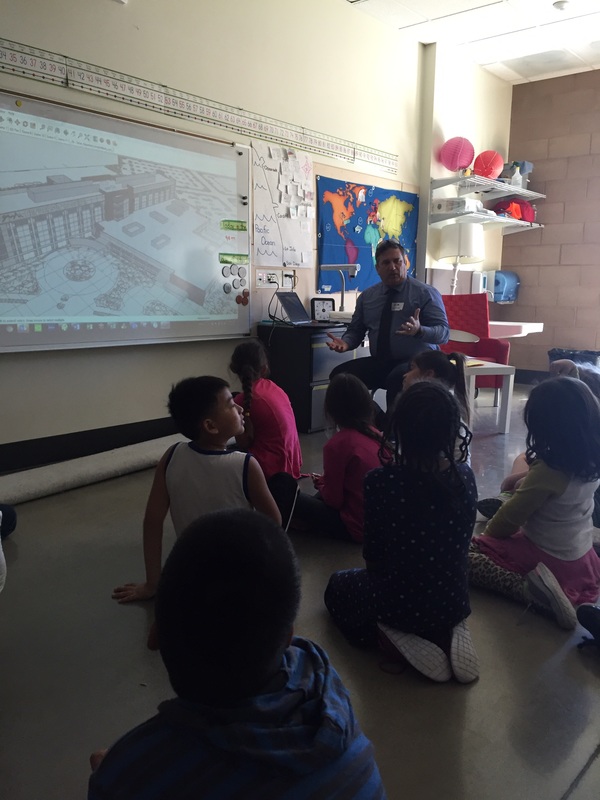
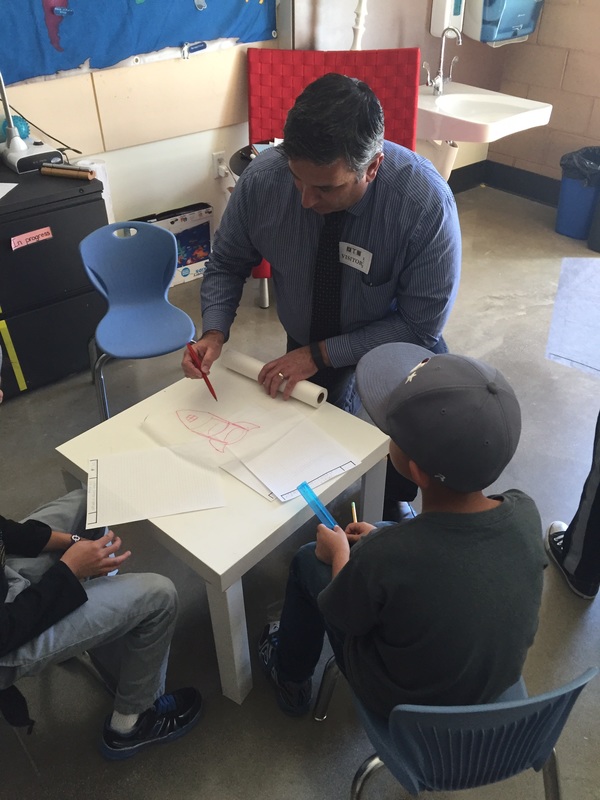
Then, we had Mr. Arnold come in and tell us more about what it means to be an architect. He showed us one of the blueprints he was currently working on using a computer software - Wow, that was cool! This software allowed the architect to make a 3-Dimensional blueprint that you could moved around and show multiple views at a time. Here are some of the takeaways students had from Mr. Arnold:
We were fortunate enough to have two architects come in and help us! First, Mrs. Brandy came in and helped us with our library blueprints. When Mrs. Brandy came in, we had lots of creative drawing and pictures, but we didn't know how to turn those into something that we could actually bring to MakerPlace to build. Mrs. Brandy broke down the process of making a blueprint, and gave us a general outline for what our library blueprints should look like.
Mrs. Brandy explained that we need to show our library from different view points. We decided that we needed three different views of our library: Top view, Side view, and Front view. She and helped us decide on the dimensions for our library. Last, she told us about some of the important labels that we should put on our blueprints that will help the builder understand what we want.
Then, we had Mr. Arnold come in and tell us more about what it means to be an architect. He showed us one of the blueprints he was currently working on using a computer software - Wow, that was cool! This software allowed the architect to make a 3-Dimensional blueprint that you could moved around and show multiple views at a time. Here are some of the takeaways students had from Mr. Arnold:
Architects make lots of drafts - William
Mr. Arnold told me that he never messes up because he practices a lot. - Sofia
Mr. Arnold taught me that if you're building something and you're not wearing a bright color you can get very injured. - Stella C
Some architects draw what they are going to build or they use a computer. - Gizzelle
I learned that there are lots of architects working on one building. - Josiah
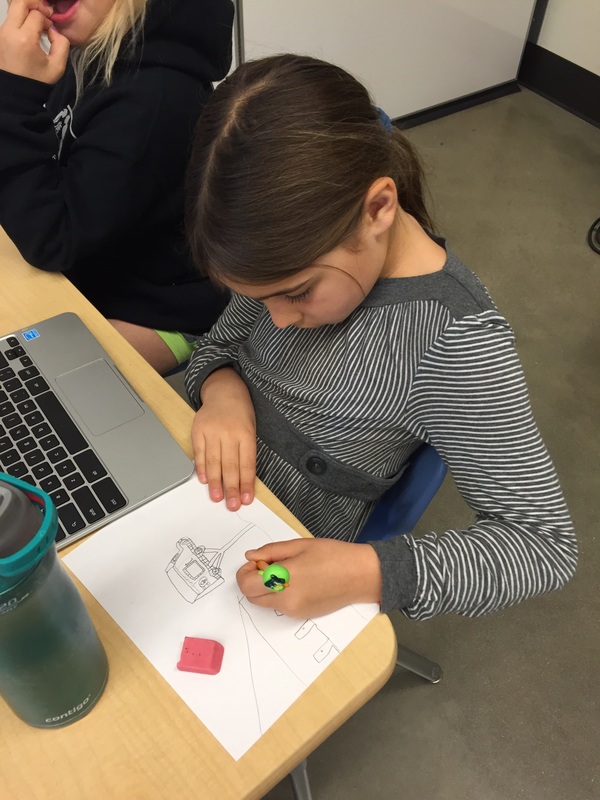
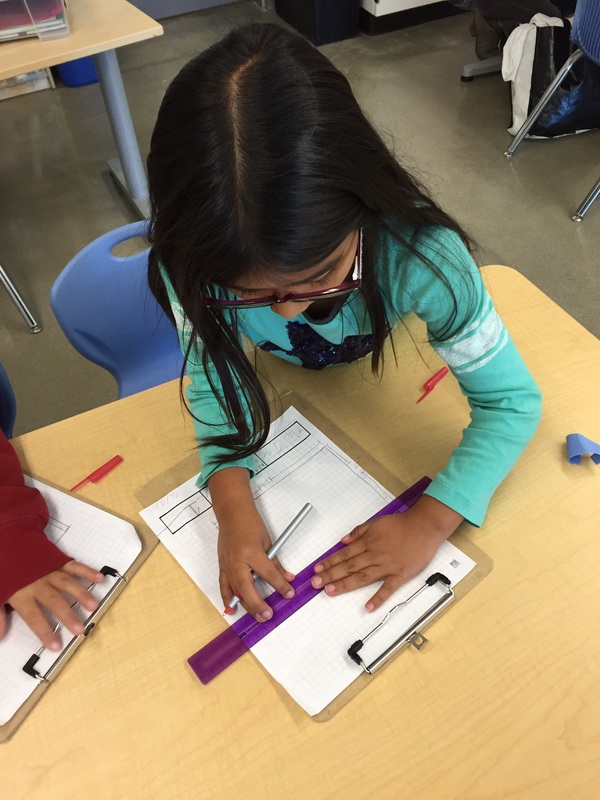
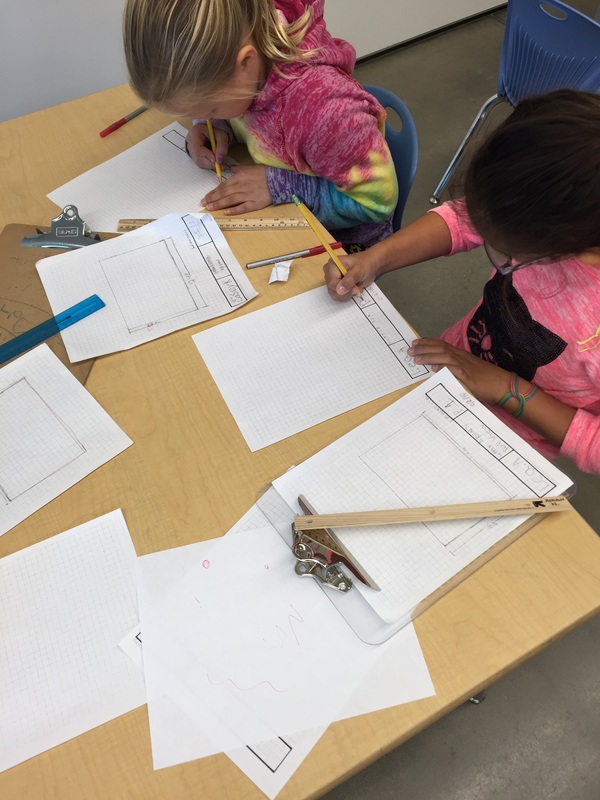
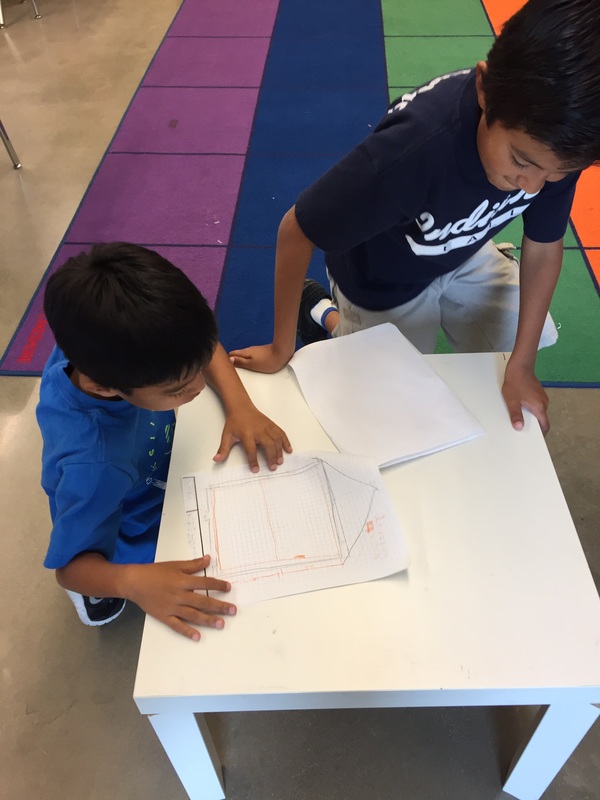
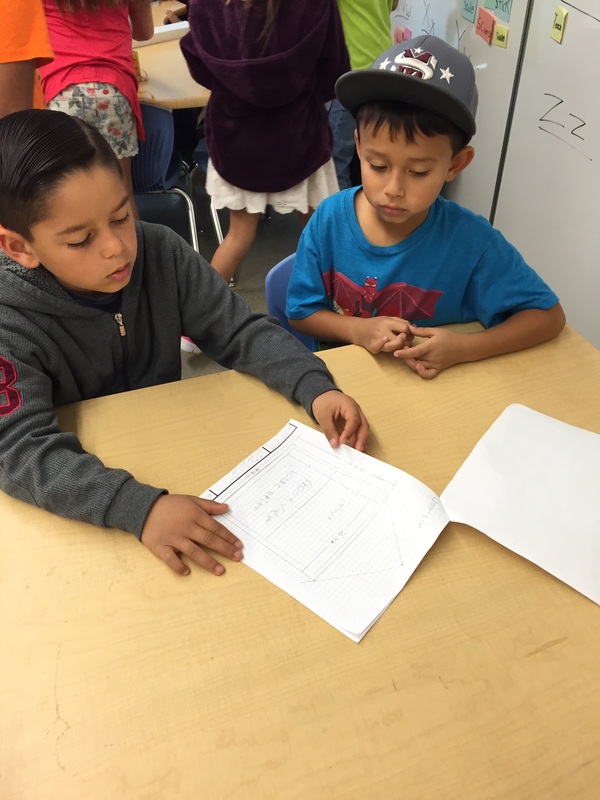
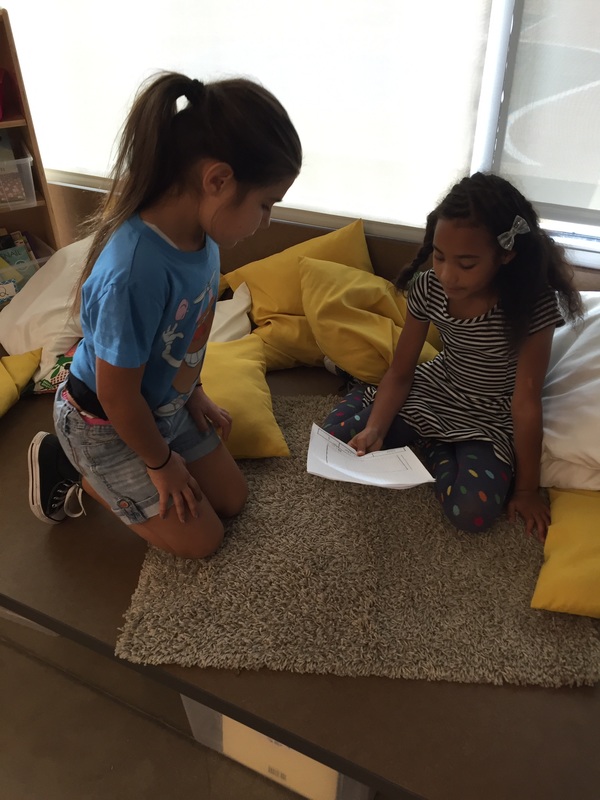
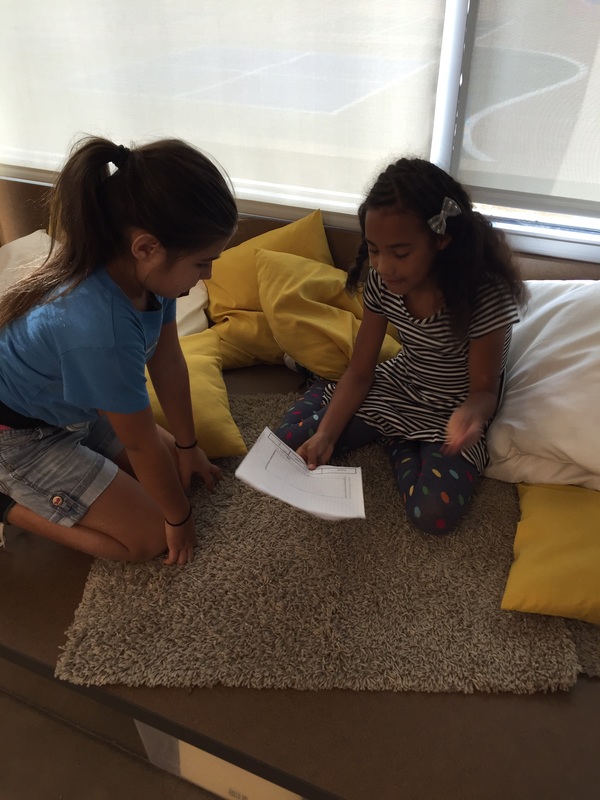
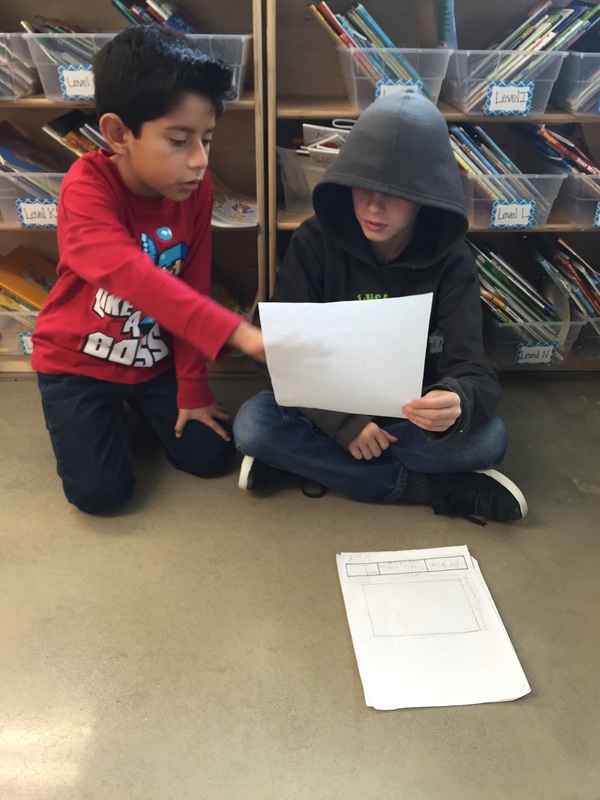
Step 3: Making the blueprints
As Mrs. recommended, we made three different blueprint views of our library. Just like with our practice blueprints, making our library blueprints proved to be a harder task than we expected. We learned that we really needed to take our time, follow our scale, and persevere when things got challenging or confusing. I was really impressed with how hard the students worked to make on target, accurate blueprints!
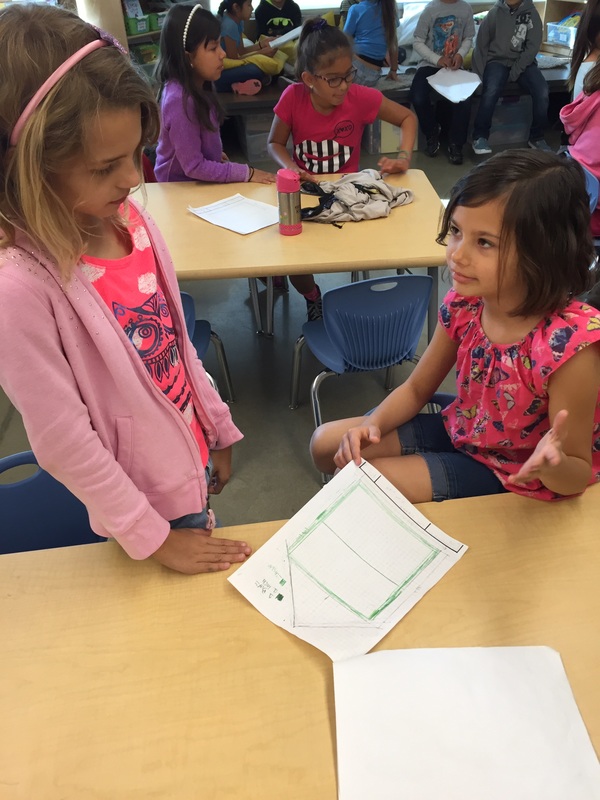
Step 4: Redlining
Architects edits and critique their work just like us! They edit their work through a process called redlining, which is where an architect looks over their work (or their coworker's work) and makes changes using a red pen. They use a red pen to make sure that the corrections stand out and the architect can clearly see what they need to change for the next draft. In the architect world, if you have one redline on your paper, you need a whole new draft! This really encourages us to take our time!
After each draft, students partnered up and redlined each other's work. We also redlined some of Ms. Pasfield's work. We learned that it was important to explain why we were redlining something. As always, the students did an excellent job of giving their peers kind, specific, and helpful feedback through the redlining process.
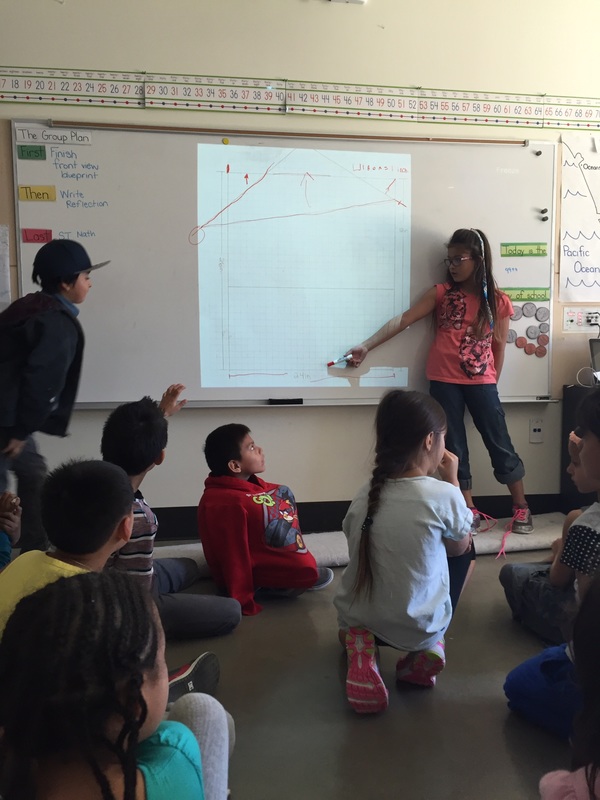
Step 5: 3-Dimensional Shapes
Once our drafts were complete, it was time to start thinking about how we turn our 2D blueprints into a 3D structure. So, we spent some time learning about 3-Dimensional shapes. 3D shapes have 3 important dimensions: faces, vertices, and edges. We also found out that all of the 3D shapes are based on a familiar 2D shape that we already know. This will be really helpful to keep in mind as we start building.
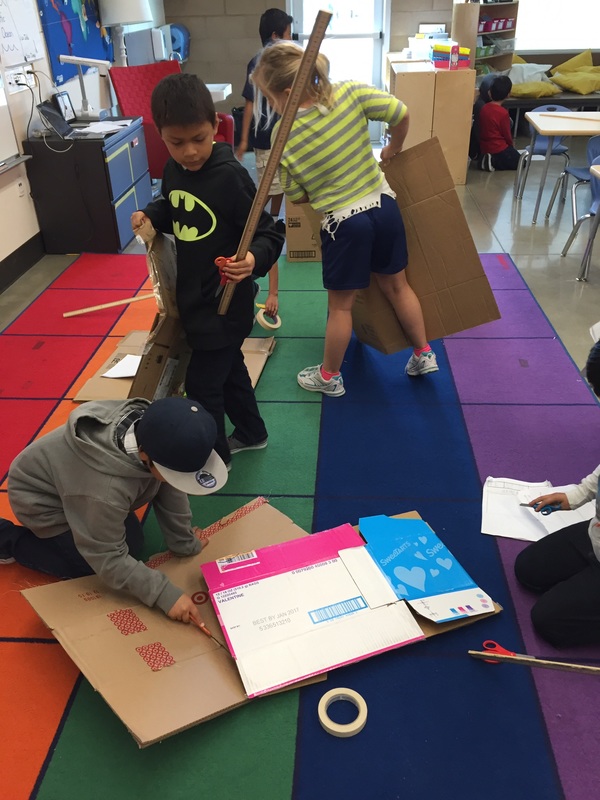
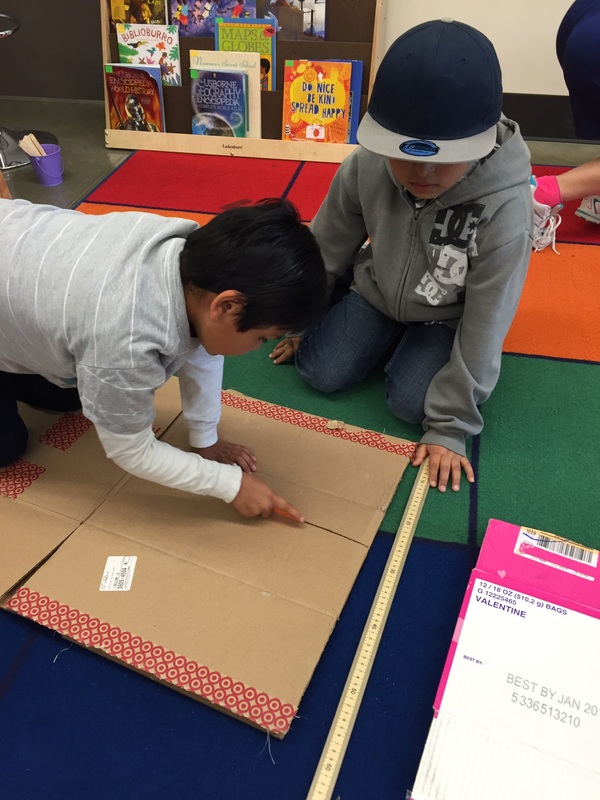
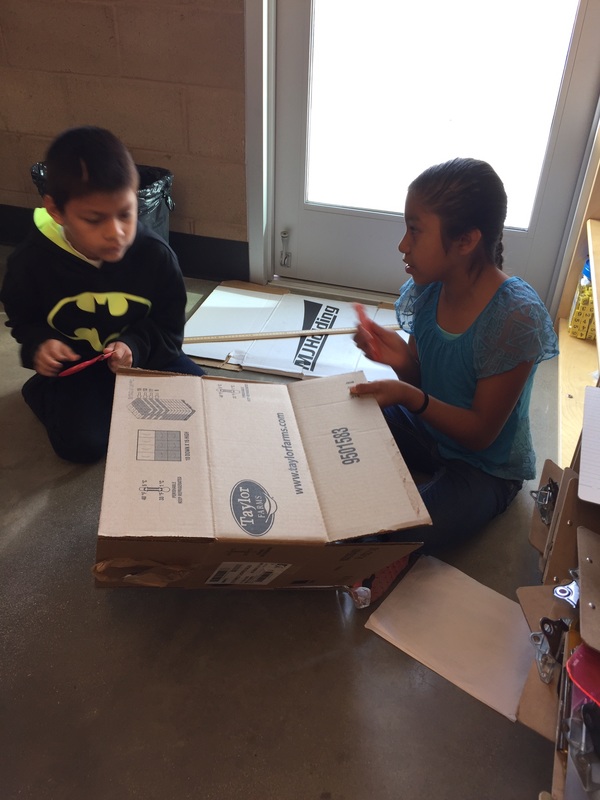
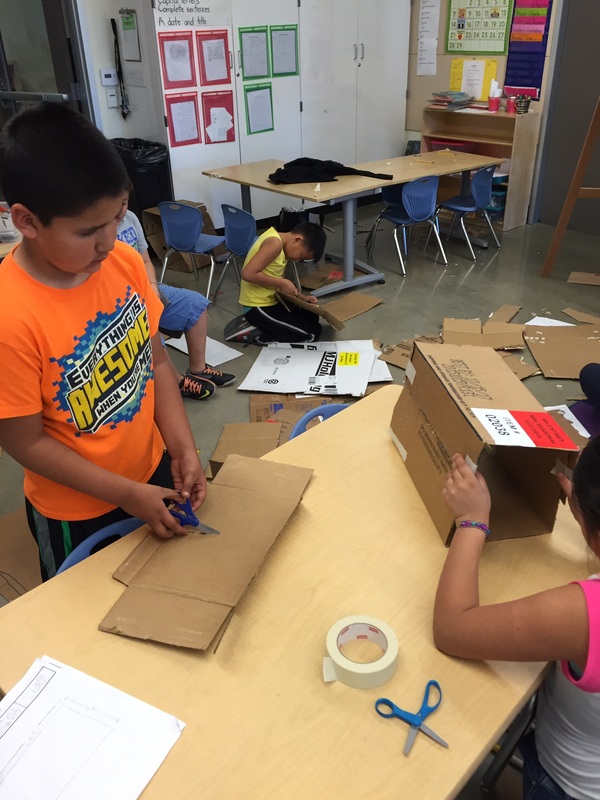
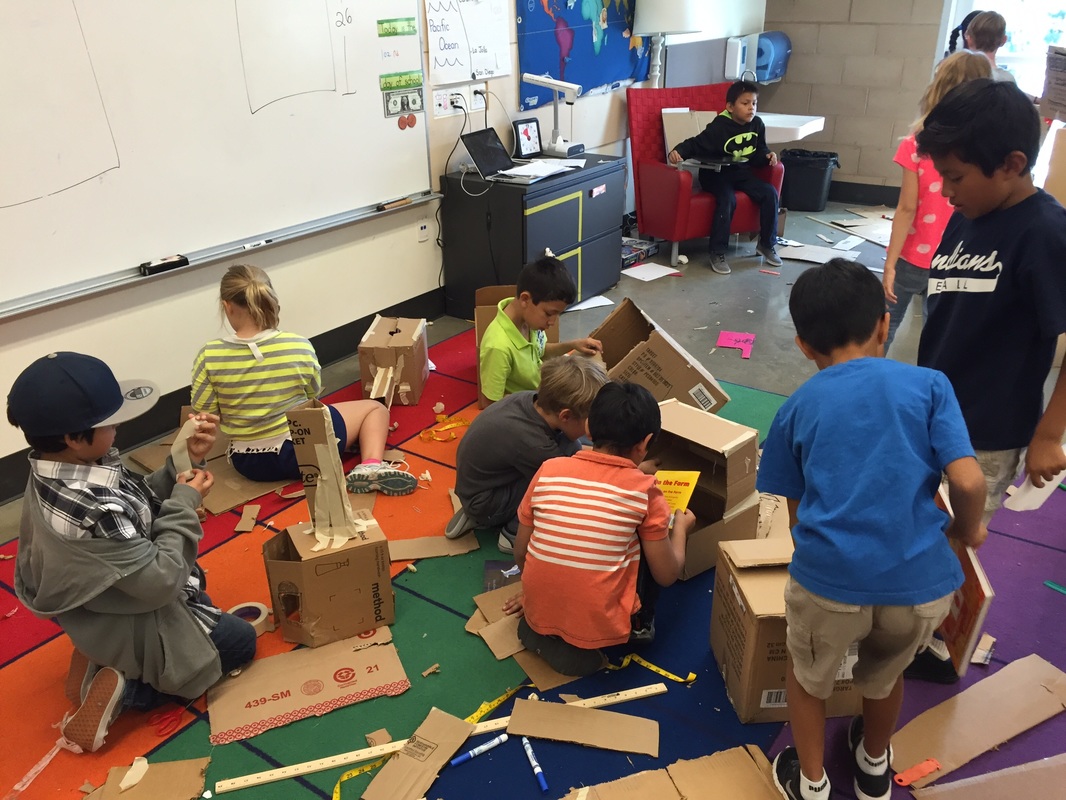
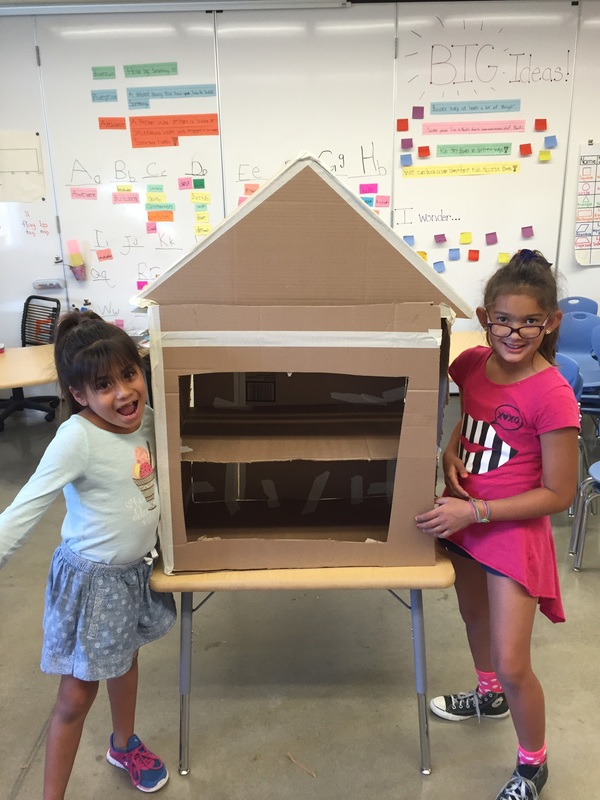
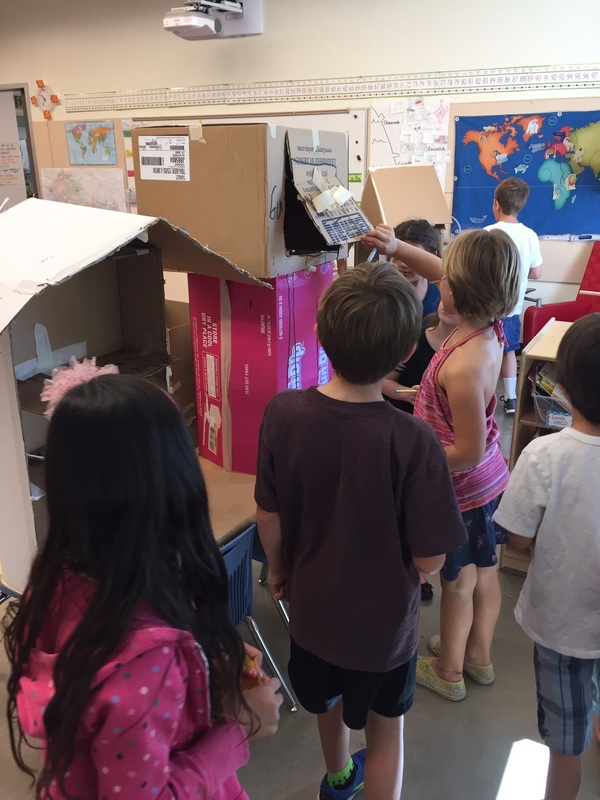
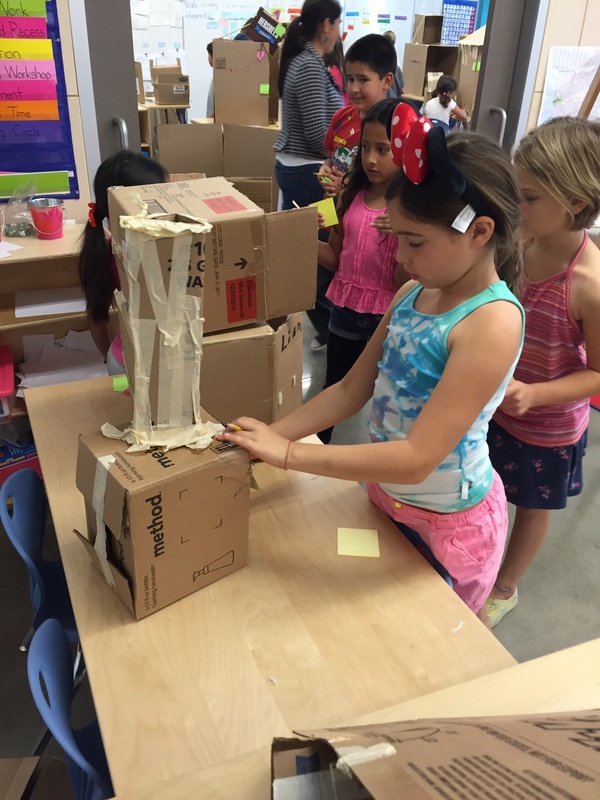
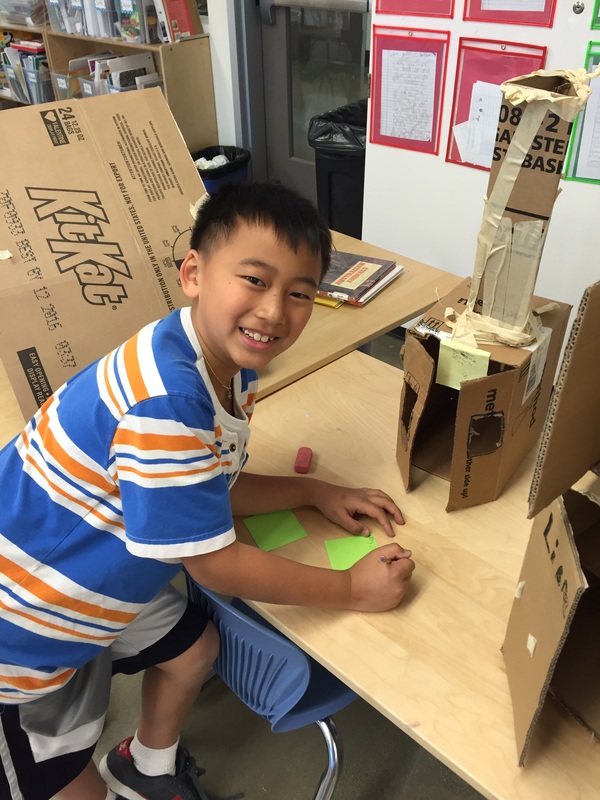
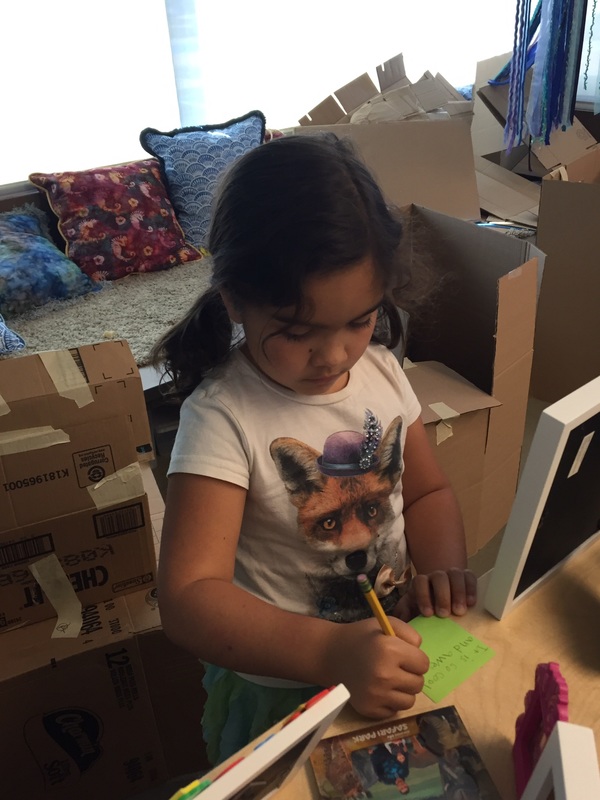
Step 6: Cardboard prototypes
After all of our hard work and learning, we felt ready to build! We paired up with Ms. Alexander's 3rd grade students to make cardboard prototypes of our library blueprints. We thought they would be really helpful since they build cardboard arcades in their first project this year. Our goal going into the building process was to make our 3D structure as accurate and close to the dimensions of our blueprint as possible.
Once again we were faced with a really challenging task! As we started to build, we realized that making a structure to scale based off of blueprints was hard to do. However, the students persevered! Part of the prototyping process is about seeing what will work, and what will need to change when it is time to make the real thing.
The students tried their best and got really creative. We had so much fun with our 3rd grade buddies turning our ideas into a real, tangible structures. We ended our day with a lot of great takeaways and ideas moving forward with our project.
Here are some pictures from our week:
As Mrs. recommended, we made three different blueprint views of our library. Just like with our practice blueprints, making our library blueprints proved to be a harder task than we expected. We learned that we really needed to take our time, follow our scale, and persevere when things got challenging or confusing. I was really impressed with how hard the students worked to make on target, accurate blueprints!
Step 4: Redlining
Architects edits and critique their work just like us! They edit their work through a process called redlining, which is where an architect looks over their work (or their coworker's work) and makes changes using a red pen. They use a red pen to make sure that the corrections stand out and the architect can clearly see what they need to change for the next draft. In the architect world, if you have one redline on your paper, you need a whole new draft! This really encourages us to take our time!
After each draft, students partnered up and redlined each other's work. We also redlined some of Ms. Pasfield's work. We learned that it was important to explain why we were redlining something. As always, the students did an excellent job of giving their peers kind, specific, and helpful feedback through the redlining process.
Step 5: 3-Dimensional Shapes
Once our drafts were complete, it was time to start thinking about how we turn our 2D blueprints into a 3D structure. So, we spent some time learning about 3-Dimensional shapes. 3D shapes have 3 important dimensions: faces, vertices, and edges. We also found out that all of the 3D shapes are based on a familiar 2D shape that we already know. This will be really helpful to keep in mind as we start building.
Step 6: Cardboard prototypes
After all of our hard work and learning, we felt ready to build! We paired up with Ms. Alexander's 3rd grade students to make cardboard prototypes of our library blueprints. We thought they would be really helpful since they build cardboard arcades in their first project this year. Our goal going into the building process was to make our 3D structure as accurate and close to the dimensions of our blueprint as possible.
Once again we were faced with a really challenging task! As we started to build, we realized that making a structure to scale based off of blueprints was hard to do. However, the students persevered! Part of the prototyping process is about seeing what will work, and what will need to change when it is time to make the real thing.
The students tried their best and got really creative. We had so much fun with our 3rd grade buddies turning our ideas into a real, tangible structures. We ended our day with a lot of great takeaways and ideas moving forward with our project.
Here are some pictures from our week:


 RSS Feed
